Batbout, often described as Morocco's answer to the classic pita, offers a delightful chewiness and versatility that makes it perfect for breakfast, lunch, or dinner. Whether you're scooping up a hearty tagine or creating a gourmet sandwich, this stovetop flatbread delivers authentic bakery-style flavour without the need for an oven. Using a Thermomix simplifies the kneading process, ensuring consistent results every time while saving precious minutes in the kitchen. This guide walks you through everything from mixing the dough to freezing your finished breads for future enjoyment, making traditional Moroccan baking accessible to home cooks everywhere.
Gathering Your Ingredients and Preparing the Thermomix Dough
Essential ingredients for authentic moroccan batbout
The foundation of any excellent Batbout lies in selecting the right combination of flours and leavening agents. White flour forms the base, providing structure and lightness, while semolina or wheat flour contributes a subtle nutty flavour and distinctive texture that sets these flatbreads apart from ordinary pita. A tablespoon of whole wheat flour can further enhance the depth of taste, though this remains optional for those preferring a milder profile. Active yeast serves as the crucial leavening agent, transforming a simple mixture into soft, pillowy breads that puff beautifully during cooking. Sugar aids in activating the yeast, while salt balances the flavours and strengthens the gluten network. Olive oil or vegetable oil adds richness and helps maintain moisture, ensuring your Batbout stays tender even after cooling. Lukewarm water brings everything together, and its temperature proves critical for proper yeast activation without killing the delicate microorganisms.
Step-by-step thermomix kneading process
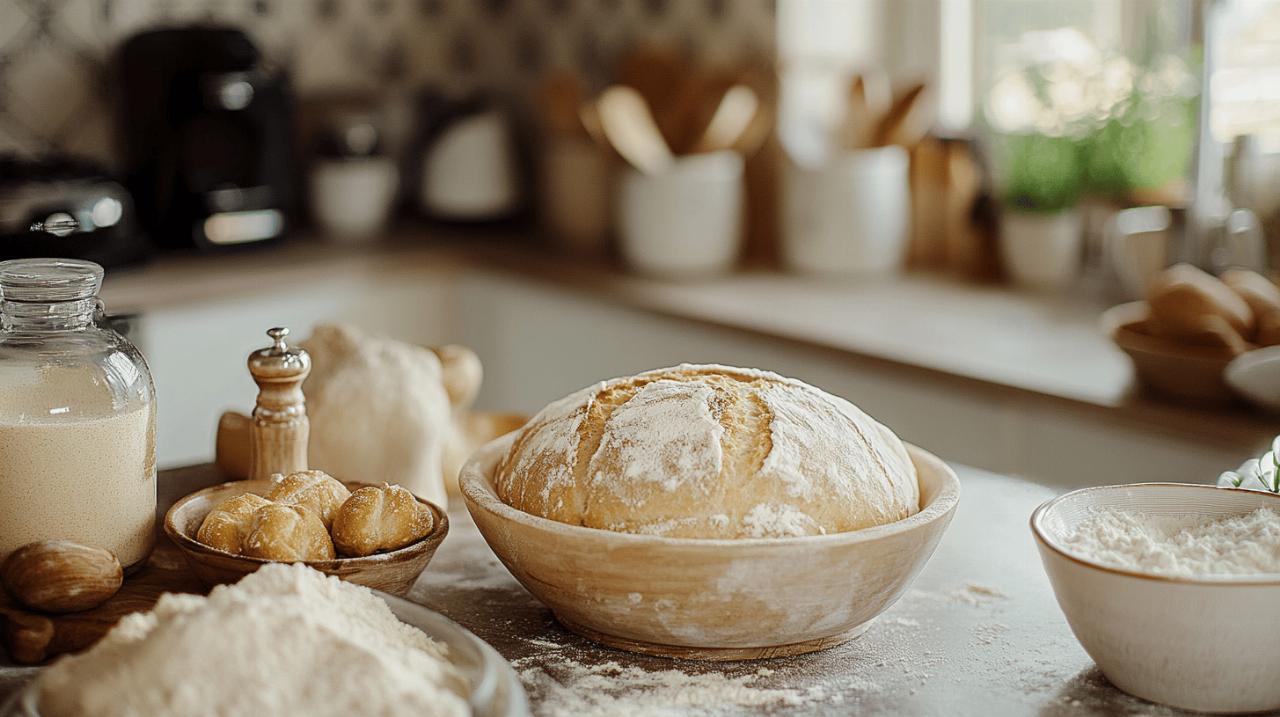
Begin by activating your yeast in a small bowl with warm water and a pinch of sugar, allowing it to bloom for roughly five minutes until frothy. This step confirms the yeast's viability and jumpstarts the fermentation process. Meanwhile, add your white flour, semolina, wheat flour, and salt directly into the Thermomix bowl. Once the yeast mixture shows signs of life, pour it into the bowl along with the oil. Set your Thermomix to its kneading function and gradually introduce the remaining lukewarm water while the blades work their magic. The machine will develop the gluten strands efficiently, creating a dough that feels soft and slightly sticky to the touch. This process typically requires just a few minutes, far less than traditional hand kneading, and yields remarkably consistent results. The dough should pull away from the sides of the bowl yet remain pliable and elastic when stretched. If it appears too dry, add water by the tablespoon; if overly wet, incorporate small amounts of flour until the texture feels right. Once the kneading cycle completes, remove the dough and place it on a lightly floured work surface, ready for shaping.
Shaping, Proving, and Cooking Your Batbout to Perfection
Proper proving techniques for soft, fluffy flatbreads
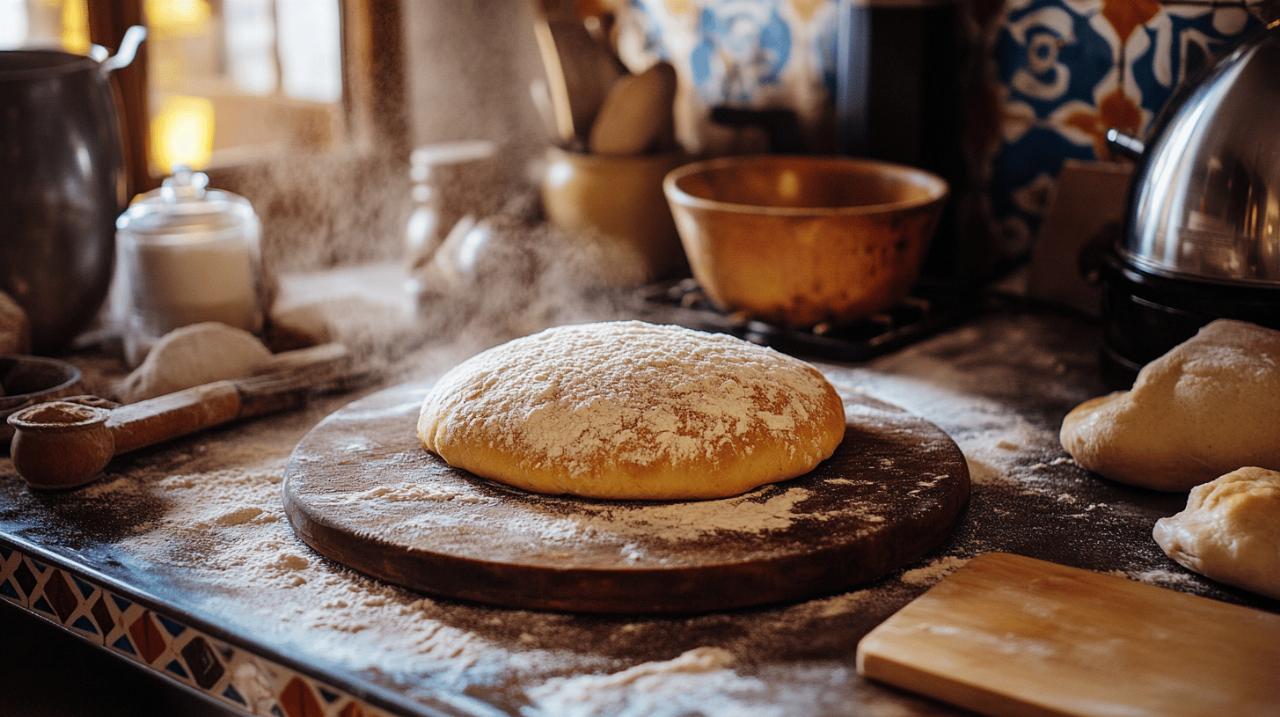
After kneading, divide your dough into equal portions, typically eight to twelve balls depending on your preferred size. Shaping these portions correctly ensures even cooking and attractive presentation. Roll each piece gently between your palms, creating smooth, taut surfaces that will puff uniformly when heated. Arrange the shaped balls on a floured tray or work surface, ensuring adequate space between each one to accommodate expansion. Cover them with a clean tea towel or place them inside a large food bag to prevent the surface from drying out during the proving period. The dough needs roughly one hour to double in volume, though ambient temperature can affect this timing. Warmer kitchens accelerate fermentation, while cooler spaces extend the rising time. Patience during this stage proves essential, as rushing the process results in dense, heavy flatbreads rather than the light, airy texture characteristic of authentic Batbout. The dough should feel noticeably lighter and springier when gently pressed, indicating readiness for rolling and cooking.
Pan-frying methods for golden, bakery-style results
Once the dough balls have risen sufficiently, gently flatten each one on a floured surface using a rolling pin. Aim for circles roughly half a centimetre thick, maintaining even pressure to ensure uniform cooking. The circles should measure approximately fifteen centimetres in diameter, though personal preference may dictate slightly larger or smaller sizes. Heat a heavy-based pan over medium heat and add just a thin film of oil, enough to prevent sticking without creating a greasy finish. When the pan reaches the correct temperature, carefully place one or two dough circles in the pan, depending on its size. The breads will begin to puff within a minute or two, forming the characteristic pocket that makes Batbout so perfect for stuffing. Cook for approximately three minutes on the first side until golden brown spots appear, then flip and cook for an additional two to three minutes on the opposite side. Avoid pressing down on the breads while they cook, as this prevents proper puffing and creates dense spots. Remove the finished Batbout to a clean towel and cover immediately to keep them soft and warm. The entire cooking process moves quickly once started, requiring just forty-five minutes to complete a full batch.
Freezing your batbout: storage tips and best practices
How to Properly Freeze Batbout for Maximum Freshness
 Batbout freezes exceptionally well, making it practical to prepare large batches for convenient weekday meals. Allow the cooked flatbreads to cool completely before freezing, as trapping residual heat creates condensation that leads to sogginess and freezer burn. Stack the cooled breads with small squares of baking parchment between each one, preventing them from sticking together during storage. This simple step makes it easy to remove individual portions without thawing the entire batch. Alternatively, you can freeze the breads individually on a baking tray before transferring them to a storage container, though this requires more freezer space initially. The goal is to protect the surface of each bread while maintaining its soft texture once thawed.
Storage duration and packaging recommendations
Transfer your stacked or individually frozen Batbout into airtight freezer bags or rigid containers, removing as much air as possible before sealing. Proper packaging prevents freezer burn and maintains quality for three to four months, though they remain safe to eat beyond this timeframe. Label each package with the preparation date to track freshness and ensure rotation of your frozen stock. For shorter storage periods, Batbout keeps perfectly well in the refrigerator for several days when wrapped tightly in cling film or stored in an airtight container. This option works brilliantly for meal planning, allowing you to prepare fresh bread mid-week without the full time commitment of making dough from scratch.
Reheating guide: bringing your frozen batbout back to life
Stovetop reheating techniques for optimal texture
Reheating frozen Batbout requires a gentle approach to restore its original softness without drying out the bread. Remove the desired number of flatbreads from the freezer and allow them to thaw at room temperature for roughly twenty minutes. While still slightly chilled, place them in a dry pan over medium-low heat, flipping every thirty seconds until warmed through. This method revives the bread's texture beautifully, creating a fresh-from-the-pan experience. Alternatively, wrap thawed Batbout in slightly damp kitchen paper and microwave for fifteen to twenty seconds, though this method produces a softer, less crispy exterior. For a crispier finish, brush the surface lightly with olive oil before reheating in the pan, which adds flavour and creates an appealing golden colour.
Serving suggestions and creative filling ideas
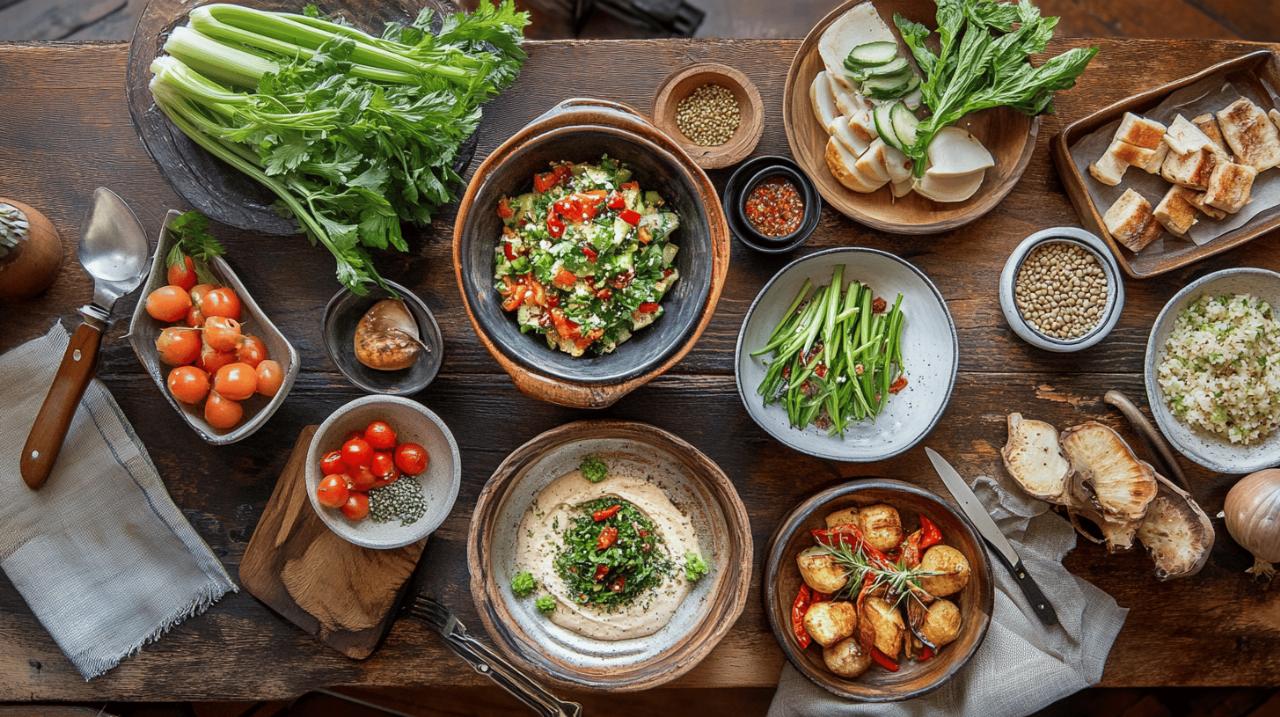
The beauty of Batbout lies in its remarkable versatility across meals and cuisines. Serve warm breads alongside traditional Moroccan dishes like tagines or harira soup, using them to scoop up every last drop of flavourful sauce. For breakfast, split the flatbreads and stuff them with scrambled eggs, cheese, and fresh herbs, creating a satisfying morning meal that holds together beautifully during eating. Transform them into gourmet sandwiches by filling the pockets with grilled vegetables, spiced minced lamb, or chicken shawarma, adding pickles and yoghurt sauce for authentic Mediterranean flavour. The neutral taste profile of Batbout adapts wonderfully to both sweet and savoury applications, making it equally suitable for chocolate spread at tea time or hummus and falafel at lunch. Their freezer-friendly nature means you can maintain a constant supply, ready to elevate any meal from ordinary to extraordinary with minimal effort.